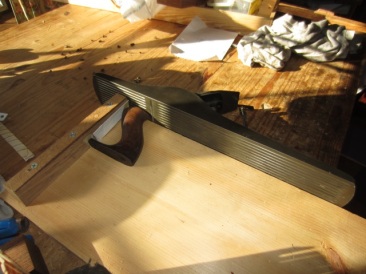
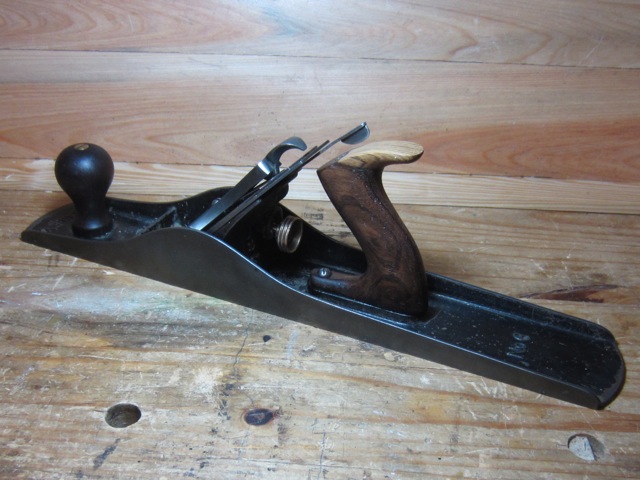
The other day, a friend of mine arrived at my house (via bicycle) carrying a very nice Stanley #6 fore plane, which he gave to me. Despite being about a hundred years old, it had only light surface rust. There’s not much blade left, but I’ll get a few sharpenings out of it before it absolutely must be replaced. The sides are dead square to the sole, so I think I’ve got myself a new shooting plane.
The only real flaw in the plane was a snapped-off horn. So I’ll fix it.
 I cleaned off the rust in a citric acid bath and then sharpened up the iron. This plane’s first task is to plane down the break flat and square. It’s easy enough on my shooting board.
The original tote is rosewood, but I didn’t have any rosewood scraps on hand, and the nearest color/grain match in the scrap bin is a bit of bocote. It will have to do.
I attached the bocote patch with an epoxy made especially for plastics, which seems to stick well to oily woods like rosewood. I used another tote as a template to sketch the horn onto the patch. Obviously, the repaired horn will be a little lower in profile than the original.
The reshaping was done primarily with a rasp. When doing this kind of freehand shaping, it is best to make several facets with the rasp, keeping each side as symmetrical as possible.
Each facet is then refined with a coarse file, and then I use the file to smooth over each edge between the facets. Bocote dust smells a little like dill pickles, in case you were wondering.
.
.
.
.
It’s important to check to see if the repair fits one’s own hand. That matters more than whether the tote looks exactly like the original. After the file work was done, I used a small card scraper to remove the file marks. Then I sanded with 220 and finally 400-grit sandpaper. Following the scraper work, the sanding was very quick.
I finished the tote with paste wax. Eventually the bocote will darken, making the repair less noticeable. In the meantime, I’ll be using this plane regularly.


This was a good how to – I especially like the tip on shaving the facets. I would not have done it that way.