
So you’ve got a log. Maybe its a tree that came down nearby, or maybe somebody heard you’re a woodworker and offered you a log. And you have a bandsaw. You start wondering if you can mill this log into boards yourself. Sure, you could invest in an Alaskan chainsaw mill, or you could try to find someone nearby who runs a hobby sawmill to cut it up for you. But you would love to be able to say you made something from wood that you milled yourself.
It’s a question that gets asked a lot. And not many people have answers that aren’t hypothetical because not many woodworkers do it. There are reasons for that (keep reading!), but it’s something I’ve done quite a lot. And it is a LOT of work. But it can be done. Here’s how I do it.
To begin with, don’t try to saw up a whole log on your bandsaw. Unless the log is quite small and very straight, you will struggle to make a straight cut, and the log will want to rotate on you. Besides, a log small enough to send straight through the bandsaw is going to be too small to yield much usable wood anyway. You want a log big enough that it will actually yield usable boards, which means you have to do a lot of processing before you even get to the bandsaw.
Here is how I do it:
1. Be picky about your stock.
Just because you have a log doesn’t mean you’re going to get nice lumber out of it. There are many, many logs that are good only for firewood. So first consider whether sawing this particular log into boards is really going to be worth the trouble. Take a good, hard look at it. If it’s twisted or knotty, or if it has rotten spots, it’s not worth messing with. And don’t bother with wood species that you can easily get commercially, either. You are looking for a log that is straight, clear, and sound all the way through.
If you get to choose your logs, then you’ll find that some woods are a lot easier to do this with than others. For your first time especially, try to find a wood that will split fairly straight–like walnut, hickory, or one of the oaks. Some fruit woods, like cherry, can also work. Other woods, like elm, will be a lot more difficult. But this is a great method for getting lumber out of species that aren’t available commercially, or logs from trees that have sentimental value. You may also be able to get good lumber out of tree species that that are too small to sawn commercially.
2. Crosscut the log to length.
Cut the log not much longer than your bandsaw’s outfeed table. (Do you have outfeed support for your bandsaw? Because if you don’t, this is going to be really difficult. I strongly recommend rigging up some kind of outfeed table for your bandsaw.) There’s a limit, though, to how short or long is practical. Too short (under 2 feet) and it will be too short to use. Too long (over 4 feet) and you’ll have a really hard time handling it on the bandsaw. After doing this a couple times, you’ll get a feel for how long a log you are able to handle.
3. Split the log, at least in half.

I often use my chainsaw to saw a shallow kerf where I want the log to split. Then I drive in steel wedges to split it. If all goes well, the split side will be nearly flat enough to lay on the bandsaw table so I can saw up the log. With a bigger log, I’ll split it into quarters or even eighths. The more you can do with wedges and a sledge hammer, the better.
4. Remove the bark and pith, and (depending on the species) maybe the sapwood.
A froe, hewing hatchet, or drawknife is handy here. If you’re cutting oak, you’ll want to cut away the sapwood. The more work you do with your coarse tools, the less work you’ll have to do on the bandsaw. Be sure to cut/split the workpieces down enough that they will actually fit through your bandsaw. If you have 6″ of cutting depth on your bandsaw, then that’s as wide as your workpiece can be. There’s nothing quite like getting to the end of a cut only to find out that the very end of your workpiece is 1/8″ too high to fit through the bandsaw. Use a drawknife or hatchet to take off any high spots. I have found it best to plan for at least 1″ of clearance under the top guide of the saw’s bade.

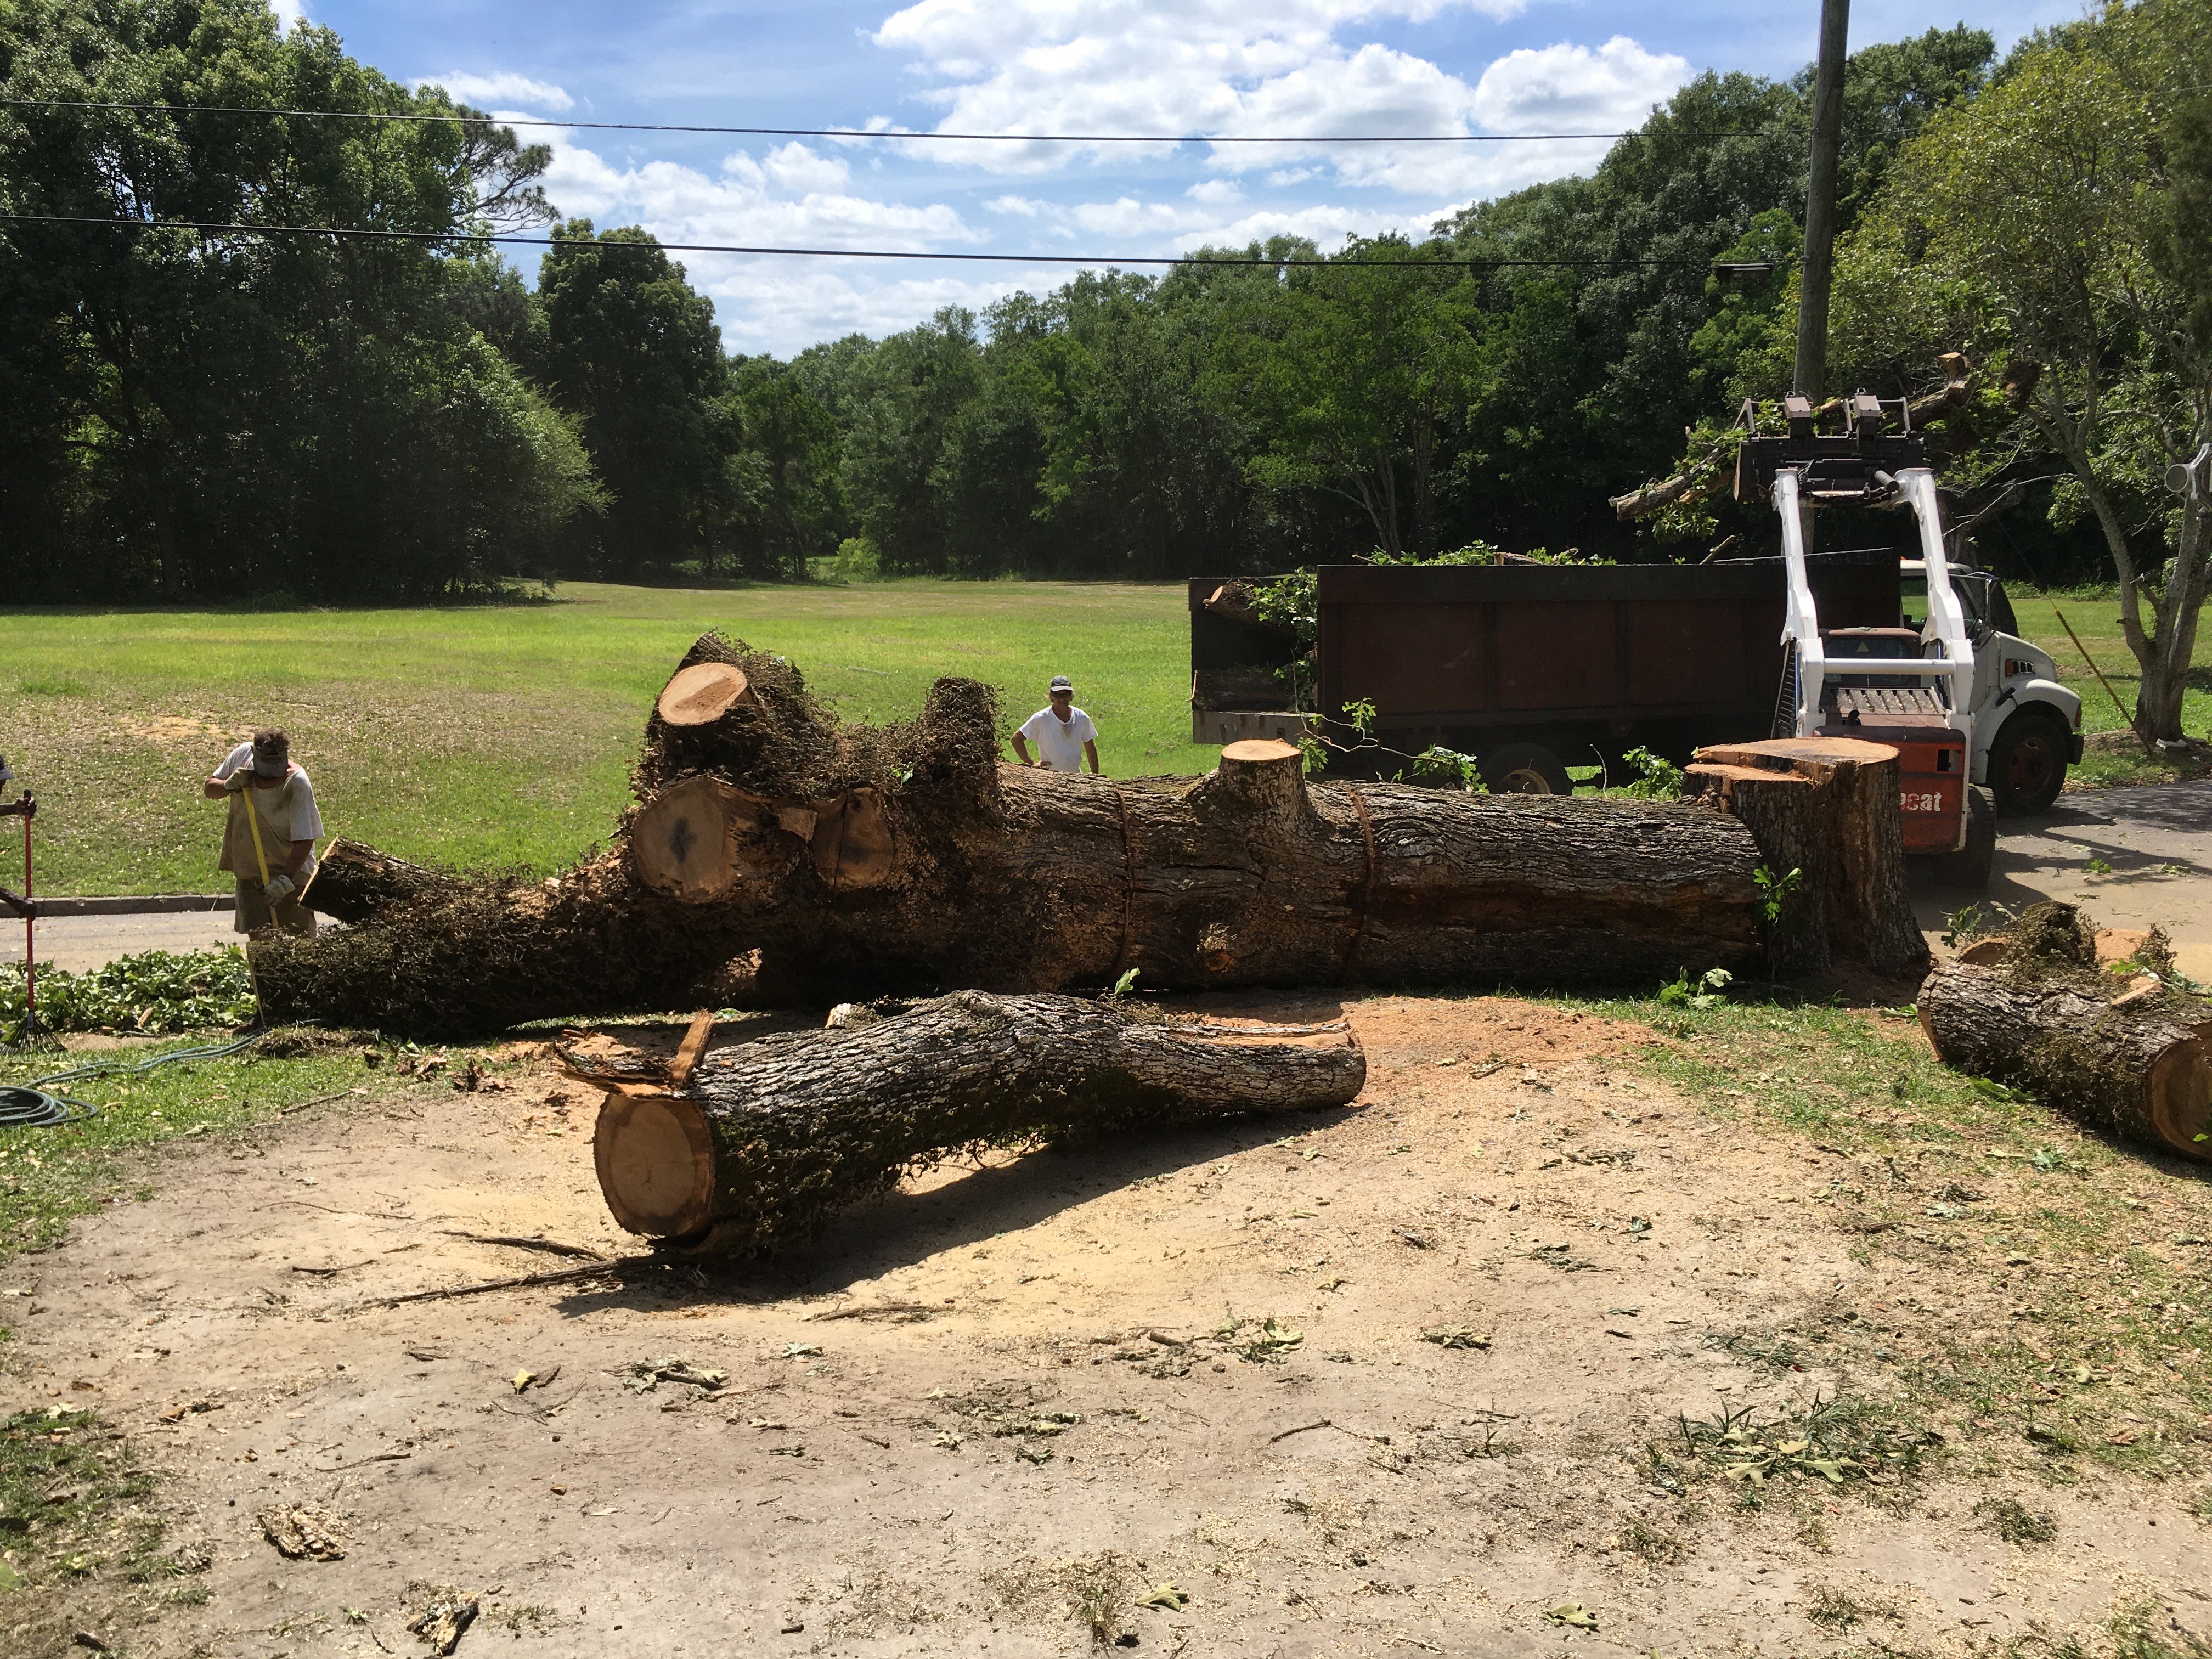
You will also want to cull your stock at this point. Splitting the log will reveal defects like large knots that won’t be worth the effort to cut through. Be willing to discard some (or even all!) of a log that ends up having too many defects. The logs in the pic above were all cut fairly short because I just needed to make wooden spoons out of them. 30″ was plenty long enough for that purpose.
5. Get the bandsaw ready.
Make sure you cut with the coarsest, widest blade you can put on the saw. I use a hook-tooth, 3 PPI blade. And make sure it is SHARP. A dull blade will make this much, much harder than it already is. And (in case you missed the point the first time) you really do need some kind of outfeed support–even if it’s just a partner who will help you on the other side of the table. A solid outfeed table of some kind is even better. Also make sure your bandsaw won’t move when you bump it. If you’re feeding a 40 lb. chunk of wood through it, you don’t want it rolling around on you, or tipping over!
6. Mark your cuts with a square and a chalkline.
Examine each section of the log carefully to see which is the flattest side, and how you can cut it for the best results. Because you’ve split the log, this method strongly lends itself to quarter-sawing. You will probably need to do a little work with a hewing hatched or drawknife to make the reference face flat enough. It needn’t be perfectly flat, but it shouldn’t rock on the table.
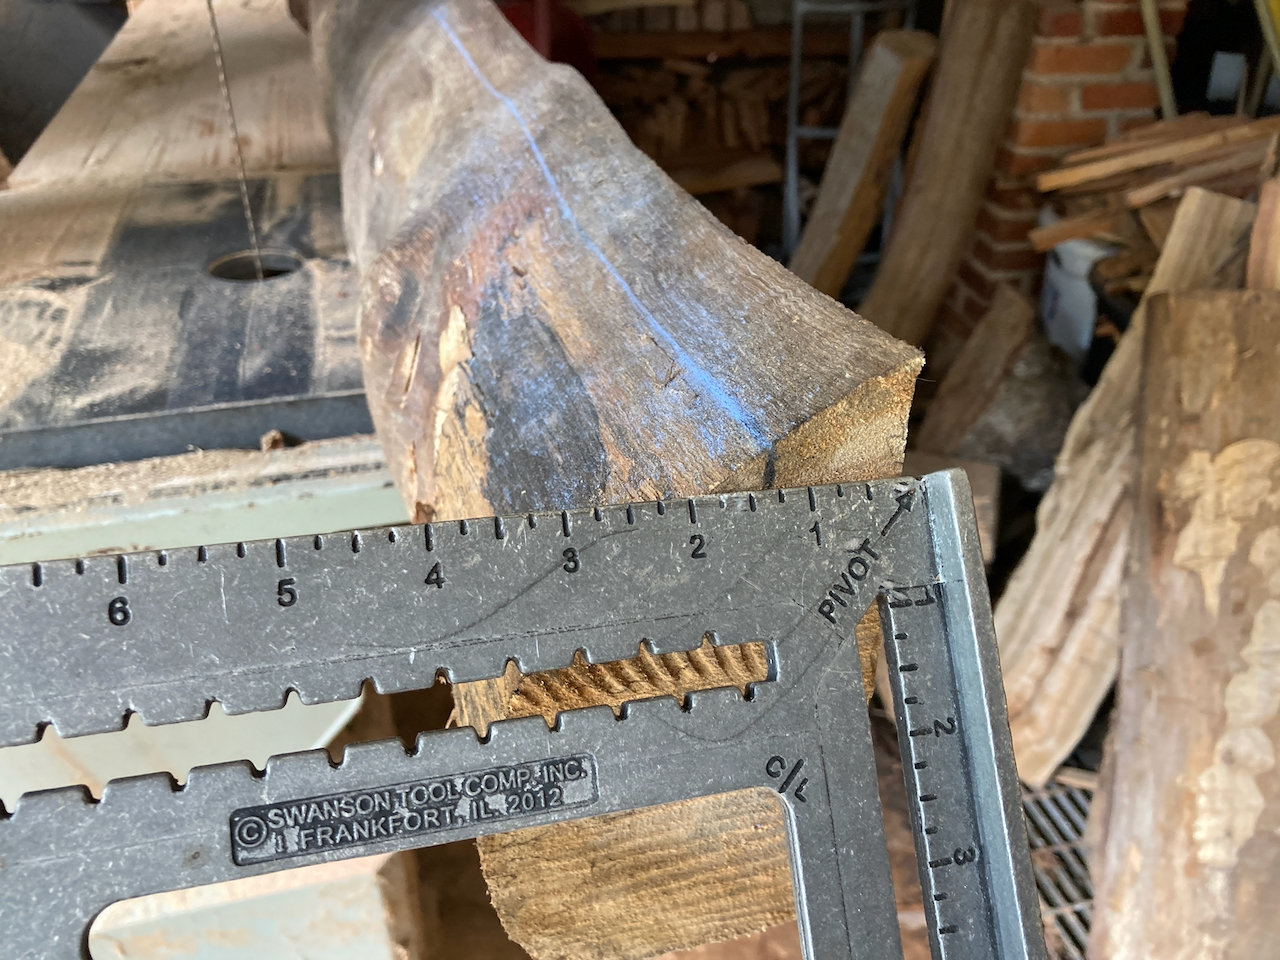
Use a square and a pencil to mark out your first cut on each end of the workpiece. It is best to saw your log section into pieces about the thickness that you expect to use–allowing a little extra thickness for shrinkage and planing, of course. I’m sawing the log section above to 1 1/4″ in the hopes of having a board I can finish to 1″ thick after it dries.
Connect your thickness marks on each end with a chalkline. The chalkline is invaluable here! It gives you a clear reference to follow as you saw.
7. Now saw the wood!
As you push the wood through the cut, follow the line carefully, and keep the feed slow and steady. After a few inches, the blade may start to bind. Have some small, wooden wedges ready to drive into the kerf to keep it open. You do NOT want to pinch the blade in the middle of a big, wet, heavy workpiece that you are struggling to balance on the bandsaw’s table. (Trust me on this one….)

If all goes well, you will open up a nice, sawn surface!

Once you’ve made your first cut, you have a few options. You can keep the workpiece in the same orientation, or you can rotate it 90 degrees, using the freshly-sawn face as the new reference face. You can also flip it end-to-end. I plan out one cut at a time, depending on the grain pattern I reveal with each cut.
8. Set a fence.
After the initial cut, a single-point fence will help cut to a consistent thickness. If you have several log sections to cut up all at once, it’s best to make an initial cut on several pieces, set the fence once, and run all the workpieces through on the single setting. This is heavy-duty production work, so you will want to economize on time and effort wherever you can! But the result should be fairly consistent thickness from board to board.

Through all the sweat, make sure you take the time to appreciate the beauty of the wood grain that you reveal. Every cut yields a new discovery!
9. Stack your lumber properly so it can dry.
There are standard practices for stacking freshly-sawn wood so it can air-dry. Logs are full of water–even if they’ve been sitting for years! You will want to make sure it is properly stacked with stickers in a sheltered place that allows for some air movement on all sides of the pile. It also helps to weigh down the stack with something heavy. You can find lots of good online guides for air-drying lumber–no need for me to repeat them here.
Since you’re working with fairly short pieces, I do recommend that you seal the ends of your new boards with wax so as to minimize checking. You want as little waste on each end as possible.

It is an extra step, but if your boards came out extra-nice (as with this spalted pecan wood) then it’s probably worth the effort.
10. Wait for the wood to dry.
Milling up your own wood is a lot of work, but what will really try your patience is waiting for the wood to get dry enough to use! There are some applications, like spoon carving, that are best done with freshly cut wood. But the vast majority of furniture work demands stock that is at least adequately dried, and often very thoroughly dried.
How long should you wait for it to dry? It depends. Under ideal drying conditions (boards cut fairly thin, properly stacked, with low humidity and good airflow through the pile all the time) then you might be able to start using it in 6-9 months. But since drying conditions are almost never ideal, you should plan to wait a year or two before you start cutting into it.
Also keep in mind that thick boards will air-dry MUCH slower than thinner ones will. You may have heard a rule of thumb like “One year per inch of thickness, plus a year”? Yeah, it’s not true. 12-18 months for 1″ thick stock is usually sufficient. But 2″ stock will still be wet inside after 3 years. Thicker boards can take exponentially longer to dry than thinner ones. So if you’re thinking of of saving effort by cutting your boards to 2″ or 3″ thick and telling yourself, “I can just resaw them into thinner boards later!” don’t listen to yourself. When you do resaw them, you’ll end up with boards of uneven moisture–bone-dry on one side and quite damp on the other side–and the board is very likely to warp. No, you are always better off sawing your boards to the thinnest practical thickness. You’ll get much better results in the long run.

So with the right tools, a little hard work, and a lot of patience, you can mill some of your own stock from logs you have on hand.
