
You never really know what you need in a workbench until you build one and work at it for a while. For that reason, it’s always advantageous to make your initial design as simple as possible. That way, when (not if) you find you need to modify it, the process is as simple as possible.
As soon as I finished my new workbench, I started building bookshelves. (Story of my life.) In the process, I found that I really liked my new workbench. But there were one or two things I found could improve.
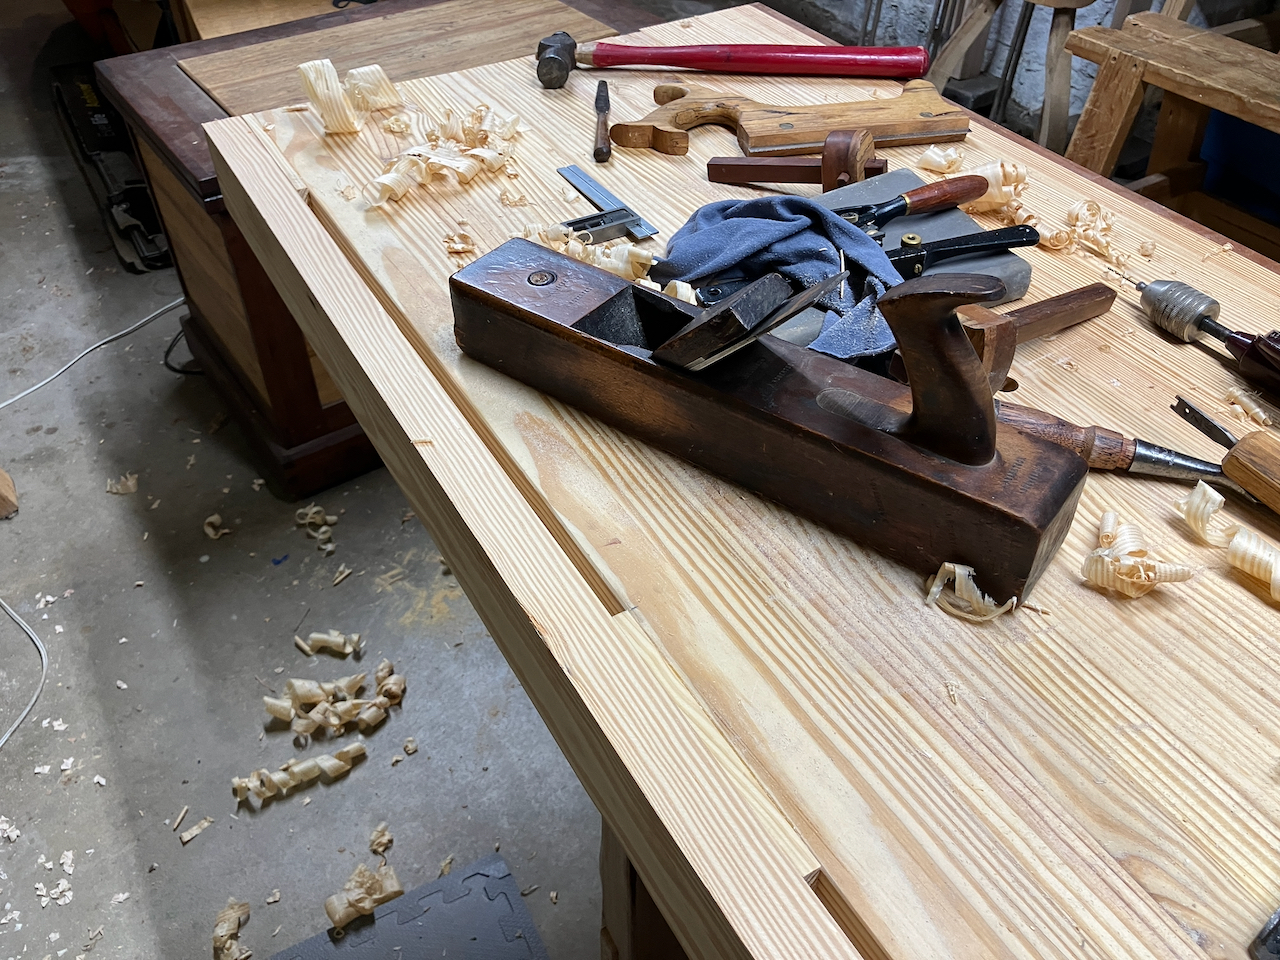
First, I needed some holdfast holes. On my first bench, I bored my original dog holes in a pattern, spaced evenly. But I found that some of those dog holes got used all the time, while others hardly ever got used. On this bench, I have decided to just bore holes as I need them. Thus far I’ve bored three, spaced so I can use my holdfasts to hold down long boards as I cut dadoes into them. I’m sure I’ll eventually bore a few more as necessary.
Second, because this new bench is a lot narrower than my old one, I found that my tools were piling up around my workpieces, and I needed a way to keep track of some of my smaller tools (like chisels and squares) without interrupting the work surface.
Tool Rack in the Back
I needed to add a tool rack. I dug out a perfectly clear yellow pine 2X4, cut it the length of my bench, and planed it down. I then cut spacers and planed them down to 3/8″ thick. I found that, after measuring the thickness of the tools I wanted to fit into the rack, 3/8″ was the ideal width of the slot.
I glued the spacers in place, and then once that glue was set I glued on the 2X4, leaving it just a little proud of the benchtop so I could plane it down level. I could have just screwed or nailed the pieces in place, but I am trying to avoid all unnecessary metal in the benchtop. Should I ever have to drill into the top or modify it in some way, I want to be free to do so without having to check for nail or screw heads. So I took the time to glue it in place.
The spacers are about 6″ long, and there are four of them spaced more or less evenly across the back of the 8′ top.

I was very happy that my squares and chisels fit perfectly, along with some other tools. But after a little experimentation, I found that some of my smaller chisels (1/2″ and thinner) tended to rock back and forth in the slots because the handles are a bit heavier than the blades. So I glued in a few more spacers to make 1″-wide slots for my narrower tools.
For the spacers, I cut some pieces just a little over-thickness and planed them down until they could be tapped in with a hammer. A spot of glue keeps each spacer in place. Problem solved.
Should I need more narrow slots, I can always add more spacers.
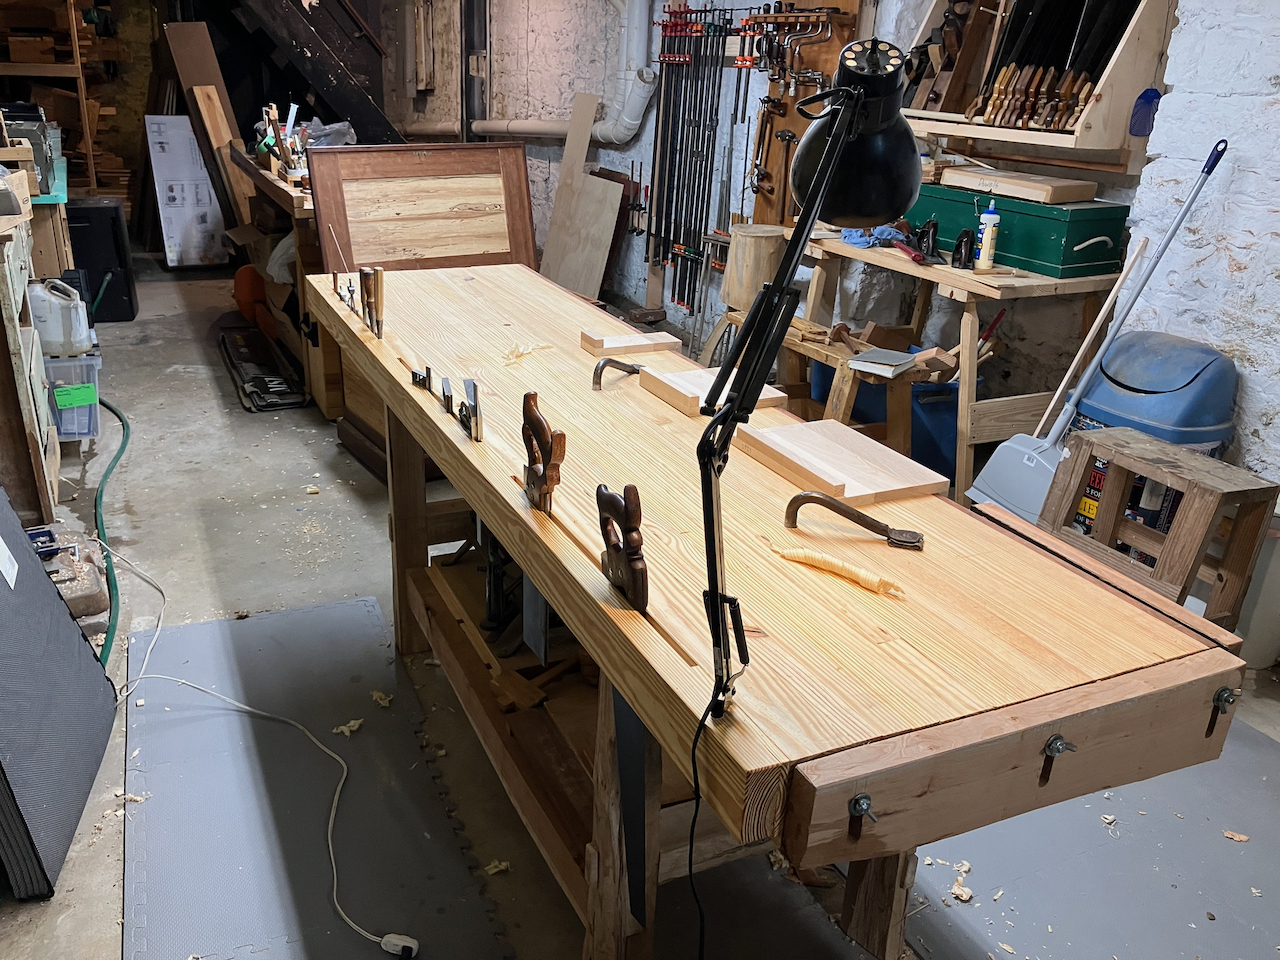
The slots will also hold handsaws, which is especially helpful because a handsaw laid on the benchtop takes up a lot of space. Now many of my essential tools will always be at hand, and I can easily clear them all away any time I need the full depth of the bench. I just need to be mindful of sharp edges protruding below the back of the benchtop.
I also bored a couple 1/2″ holes so I could mount my architect’s lamp. It’s very handy to have adjustable lighting at the bench.
Bench Hooks
I have known for a while that I desperately needed to replace the old pine bench hooks that I’ve been using for years.

I picked up some cheap maple shorts at a local hardwood dealer. After gluing them together and planing them down to 3/4″ thick, I had enough stock for three new bench hooks.
Here are my original pine bench hooks set on top of the stock for the new ones:

The exact dimensions of a bench hook aren’t crucial. They just need to be straight, square, and consistent in thickness. It helps to have them in a standard thickness (like 3/4″) so you can use any random dimensioned bit of scrap for additional support underneath a long or oddly shaped workpiece. I’m making my new bench hooks a little deeper than the originals–approximately 9″.
I like having three sizes available: long, medium, and short. The longest one is probably 14″. The shortest one will be about 4″. The medium one is whatever I had left after cutting out the other two.

Anyhow, I glued on the cleats and sawed the three apart.
Having them in different sizes allows me to work on different lengths of stock.

Little workpieces can be sawed on the large or medium hooks. Longer workpieces can span two or all three. That’s the advantage of having them all precisely the same depth.
And while you’d be tempted to make them out of whatever scrap you might have on hand, it’s worth the effort to select straight, knot-free, stable stock. If your bench hooks warp, they will soon be useless.

There. That should do it. Now my workbench is officially done.
For now.
In the meantime, I’m going to finish building those bookshelves for my new library.

well done you have shared a process and you have done a great job teaching us as well